

Digi Darkroom Tutorial #7
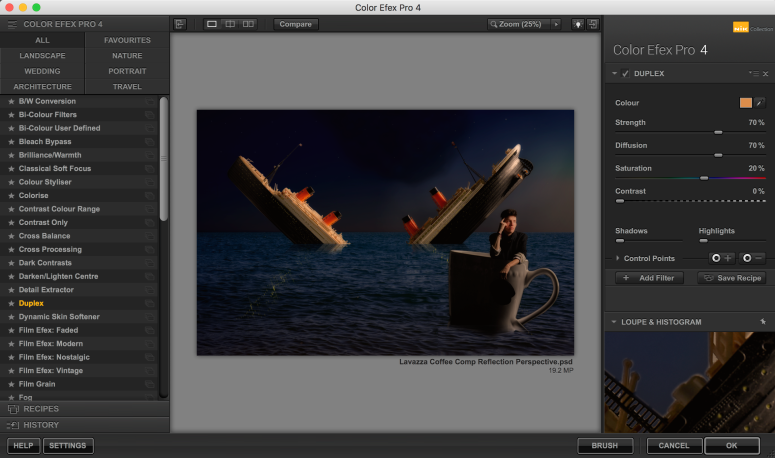 Today I had my seventh and last tutorial for my Digital Darkroom submission. Todays talk was fully about the comp. Before I had a chat with Chris I decided to have a look through the Nix collection. I really liked the mood that the Duplex filter created. It gave an orange tinge, a feel of the sun setting off of the frame. I did however think it was too strong at face value, so I decided to lower the opacity. Chris had a look at it and liked the following was suggested:
- Reflections
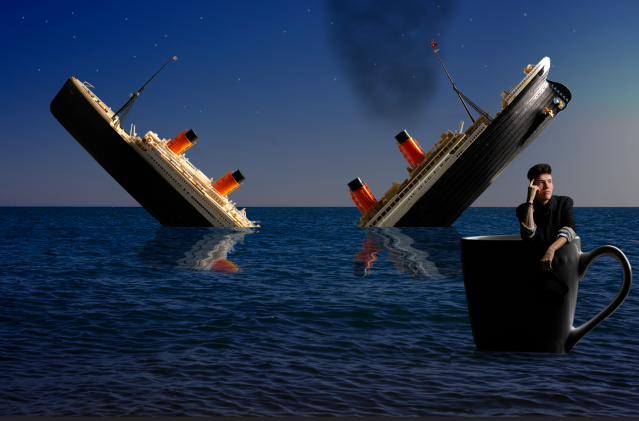
Chris believed that I had to make the reflections straight on the water. Instead of having having them going in the same direction as the ship. Chris also said that I don’t need to include the light reflections.
- Light
Mentioning about the lights. Chris felt that I should make the light coming from the windows and port-holes more prominent. I was wondering how to do because I did have a white glow around the lights but Matt didn’t agree with it. Chris simply duplicated the light layers and they really stand out even more from further away.
- Colour Tempreature
Chris felt that I need to pay close attention to the colour temperature of the elements in my comp. Chris noticed on how the portrait was a lot brighter than the cup. The two should be exactly the same.
- Smoke
 Chris decided to prow through Google to find an image of smoke which I could use as a basis for the smoke in my comp. Chris felt the image on the right would be a good basis. He felt it would make the smoke look sad. Look like the last breaths of the sinking Titanic.
- Curves
To finish off both posters, I’ve been advised to add an S-Curve to my image. I have a pretty low key image so adding an s-curve would give the image just a bit more punch.
- Test Print
Chris and I agreed that I should do a test print. We are making a print campaign after-all. We need to know how the colours of our images will look when there in print form. They will probably be a bit more dull than they are on my Mac screen.
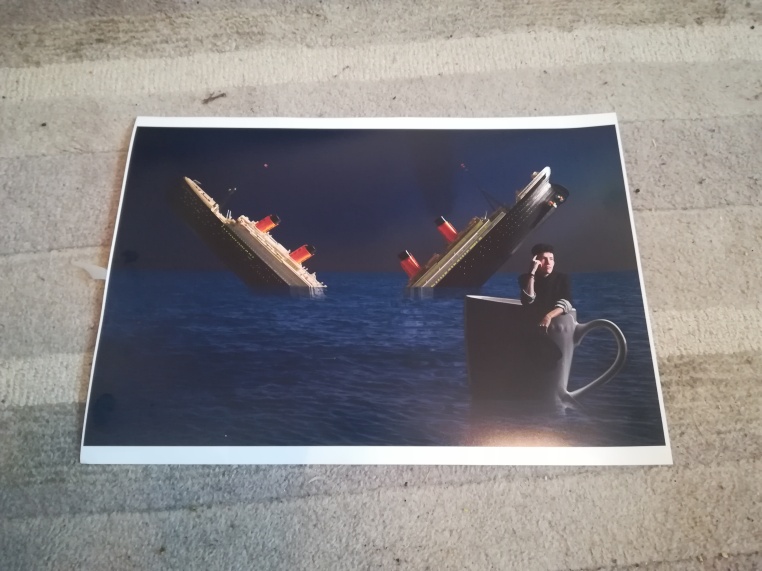 So after the crit I did a test print. I’m really impressed with the colours. Now that I have seen it in print-form I now have a very good idea of how to perfect this comp.
- The smoke might be better in white
- The stars need to be more prominent
- I need to add a ripple to the reflections

 The shoot went alright. I must admit we did have technical difficulties. It was very overcast, a storm was on the way so the sky was very dark. This meant there wasn’t very much ambient light in the centre. Apart from the taxi lights and a few fluorescent tubes at the petrol pumps. This wasn’t helped by us have a faulty flash kit. We didn’t know this during the shoot, but it seems that the flash seems to be out-of-sync after it’s been fired 4 or 5 times. It sounds to stupid to be true but below is a video of me and Molly testing it out. The power was on 4.0 and the image was black. It was’t the camera settings because the image only picked up the ambient light.


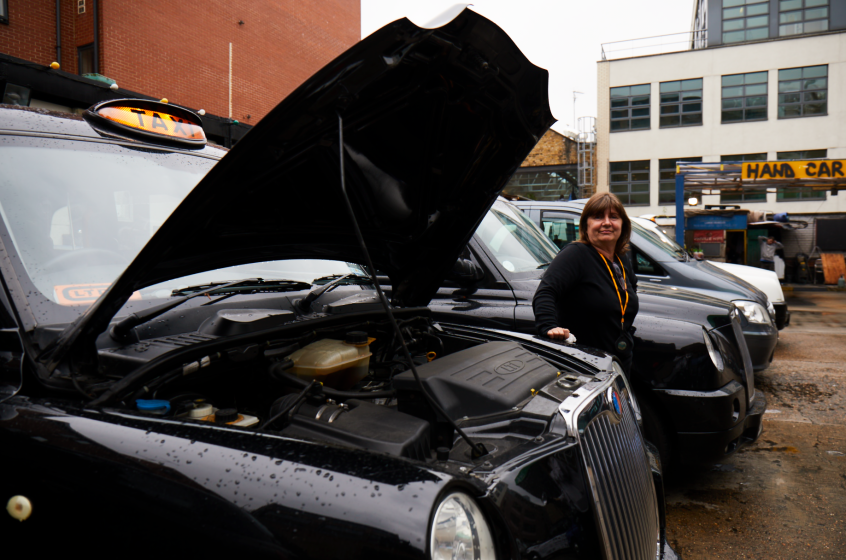 Mentioning back to the technical problems. It meant that I was gutted because I felt it would’ve been very good to include an image of a female taxi driver. However the flash didn’t fire in sync with the exposure. So sadly I can’t use it with the project.
 A week days ago I came across a video on Youtube which I thought I should do a blog post about. I’ve been a follower of COOPH for the last few years. They recently uploaded a video about their key steps to becoming a professional photographer.
 Thursday was the day for my latest tutorial for Location Photography. Celine started the by showing us a catalogue of books that MACK did. It was shown to make a point, which Celine said wasn’t valid for my idea because my book works with it. However Celine was showing us that not many photo-books are made in Landscape. In the Mack Publisher catalogue there was only one landscape book. Landscape is a very tough format to use, not only does it squash portrait images it’s very tough to use a Double page spread effectively thanks to it being turned into a panorama. This is something that was perfect for my photos but for other photos it isn’t good.
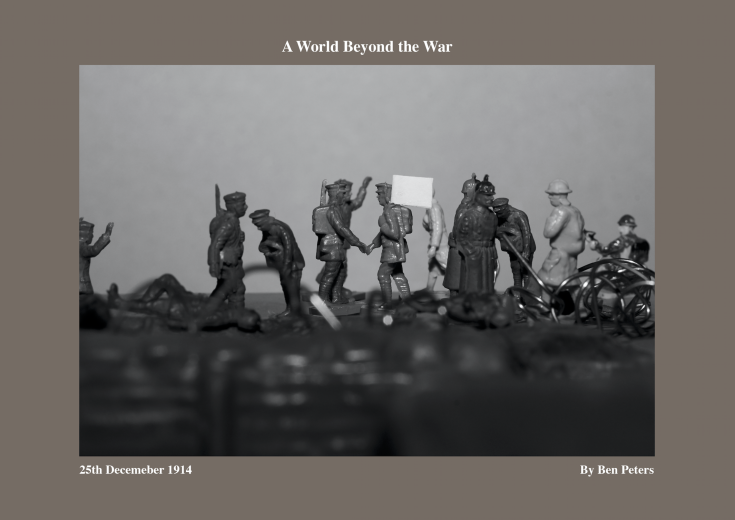 So we started by looking at my updated photo-book layout. Celine liked the improvements I made to the trenches. There now grey rather than a harsh black and there only on the end paper where the intro and outro are. This way the images can talk for themselves. Celine believed that I need to pay more attention to type. My intro and outro originally had lines that stretched across the entire page. After some thought I’ve decided to change this to a 1/3 of the page. It’s just too tough to read a line that goes across an entire width of a page, especially for an A4 landscape book. Celine also said that I’ve clearly realised that smaller type is better than bigger type. Case in point the front cover. I had the name A World Beyond The War stretching across the cover. Now I’ve changed it to Font size 12 and it is now much easier to read and take in.
 the horizon. I must admit, placing the ship on the horizon was a bit of a cop out. It’s a straight line so I only have to have the water as a new layer and I’d already be on my way to having the Titanic sinking. However by doing it lower than the horizon it’s a bigger challenge to make it look plausible but it brings back a sense of depth to the image, the ship was too far away when on the horizon, by making the cup look like it’s closer to the ship adds to the narrative of he has only just escaped. Mentioning the narrative, Chris felt I should keep adding light to the ship. To make the ship look alive and make us think that our model has only just escaped.


 I decided to search up some Youtube tutorials. I came across
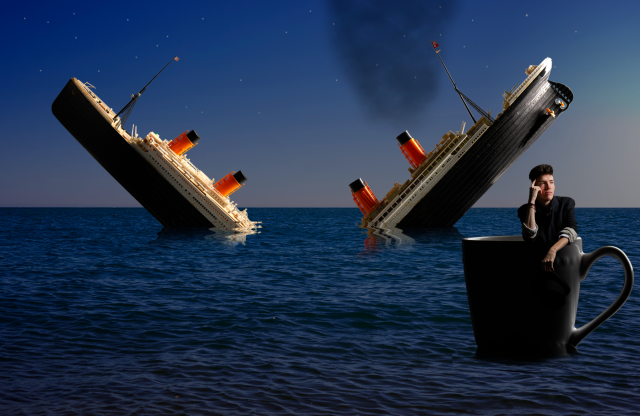

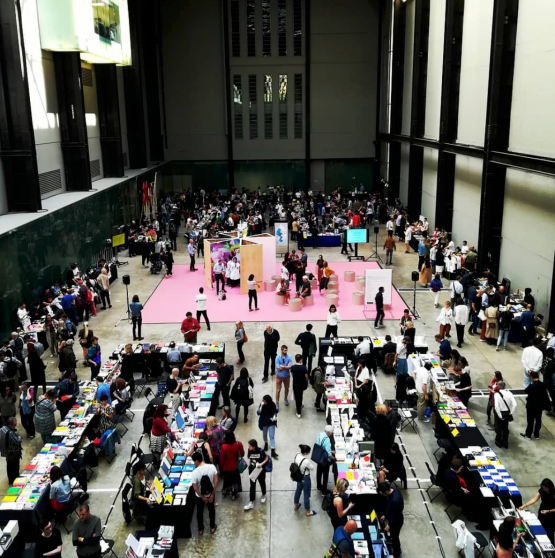 Today I went to Tate Modern to visit the Offprint event. Not only was this recommended by Celine but my secondary school photography teacher Jon Nicholls was on the Photopedagogy stand.
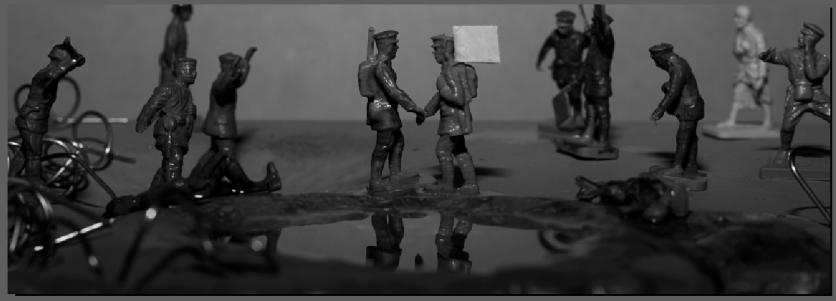 Celine agreed with the layout of my book. It was felt that I had one of the few photo-books that works well in landscape. It really compliments the double-page spreads of the pivotal images. It really throws the focus onto why the images are pivotal, for example the two soldiers shaking hands.
 The next thing I posed was the trenches I drew to put into my book. I liked the idea but I had one problem with them. We’re they distracting. Which Celine said they are prominent but so are the images. Gemma felt that i should change the colour, I shouldn’t use such a harsh black. Gemma suggested using a grey, maybe a grey that appears in the image. Are much discussion we came to the conclusion that I shouldn’t include them on the pages because they we’re simply too distracting for the images. Celine however did think that I should use them on the end pages. Which is what I’m planning to do, subject to changing the colour.
 Celine recommended coming with an updated design to the next tutorial and then print it after that tutorial. I am however keeping my eyes on both Mixam and Blurb for how long it will take to produce and send. Mixam is currently listed as Tuesday the 29th for delivery which the following week has a bank holiday Monday so thats a further day. I might have to end up printing the tutorial.