Photoshop Retouching
 Two weeks ago with Matt, we had a look into the debates of Photoshop retouching and how it’s controversial and leads to serve depression and anxiety. So it only seems fitting that we spent the rest of the day learning how to use these tools.
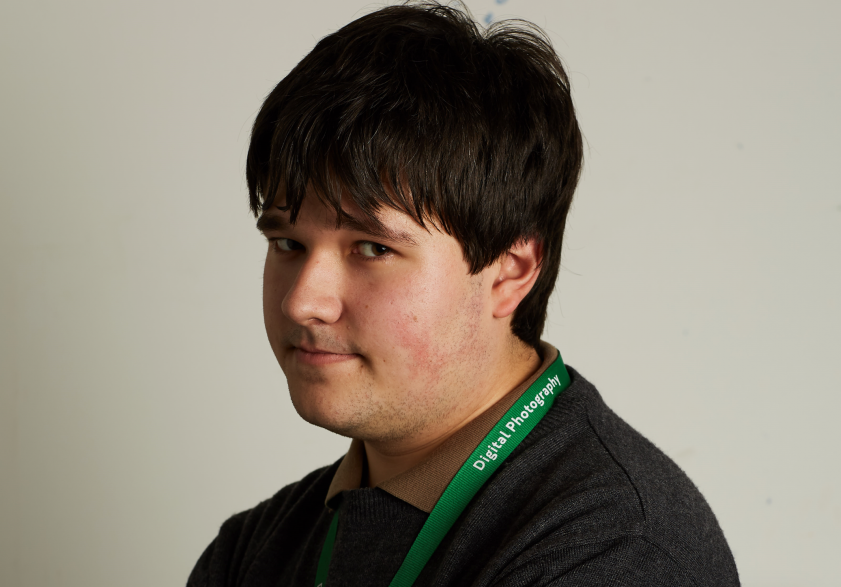
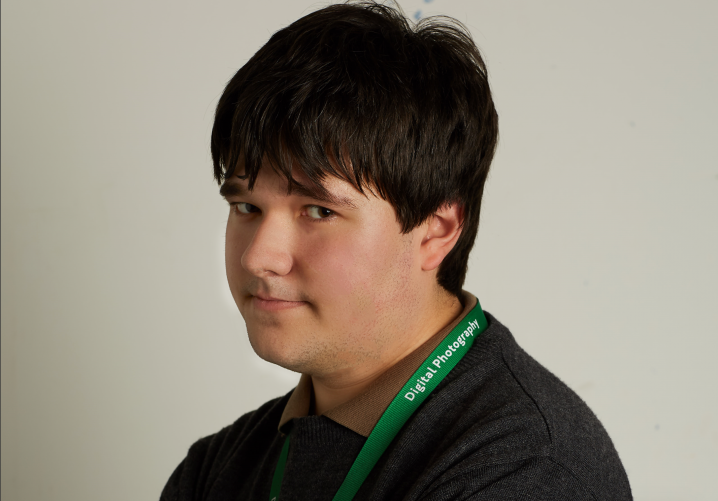
Below is the process that I went through in “famous Matt retouching session“. The portrait on the right is my starting point.
 Everyone’s style and process of manipulating an image is different Matt taught us his way. We had to start by creating seven groups. These are the eight features which Matt addresses when editing a portrait.
We started off with Retouch.
Retouch
 Retouch is the first port of call and this usually involves two layers. These are reduce and remove.
The remove layer is used to remove any unwanted aspects to the image. In this portrait I used it to remove any red spots on my face. I also used it to remove pimples and a few bits of facial hair. If I wanted to, I could’ve given myself a full shave. The tool we used for this was the Spot Healing Tool [J].
The reduce layer is used to do the same, however it is used for features which could possible add some character to the subject. Usually something which would be otherwise be distracting if left untouched. The reduction comes from the reduced opacity. The trick for using opacity is to put the slider to 0 and use the arrow keys on your keyboard to reintroduce the layer.
Shine
 Shine only requires one layer. This however has to be a pixel layer. (shift, option, command, c)
In this area, we used Patch Tool to reduce the highlights on my face, which would be created by hot spots from the flash head.
Also we can isolate highlights on the subject by using the colour range tool. To which we have to create an inverted layer mask [cmd + I]
Light
 Light is the same thing as Shine but the opposite. We are doing the same thing but to the shadows. The are of the image that doesn’t get hit by light from the flash head.
For this we have two adjustment layers. Dodge and Burn to flatten the shadows and highlights.
For highlights, the curves are adjusted to darken the portrait, then we use an inverted layer mask, then we can brush the highlights over with a white brush.
For shadows, the curves are adjusted to lighten the portrait, then we use an inverted layer mask, then we can brush the highlights over with a white brush
Skin
 Skin is possibly the most complex part of the whole process. The is used to change the texture of the skin. There is a different process for this depending on whether a male or female is being manipulated.
For both Men and Women. We have to create a new pixel based layer. After this we apply a high pass filter of around five pixels. This depends on the subject of the portrait. After this it is inverted [Cmd+I]
For men, the same process occurs, however, the blending mode is set to soft light. Continuing, a new inverted layer mask is added and the skin is brushed over until the desired effect is reached.
Colour
 This is something which can be very extreme, but can look very good if executed properly. Firstly we have to create a B&W adjustment layer, this is used to increase the tonal contrast.
Then we used the colour balance tool on a pixel based layer to adjust certain parts, such as the lips, or any make up which is already in place, or can be added in.
Features
Features can be used to make individual adjustment to specific elements like eyes
Shape
Shape involves the use of liquify tool, which is usually used for comedic purposes, however if used seriously, it can really help with a portrait.
Sharpen
The final aspect of the portrait is Sharpen. There is loads of ways to do this but we were taught to use a high pass filter with a soft light blending mode.
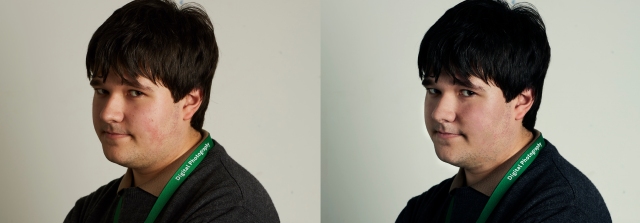
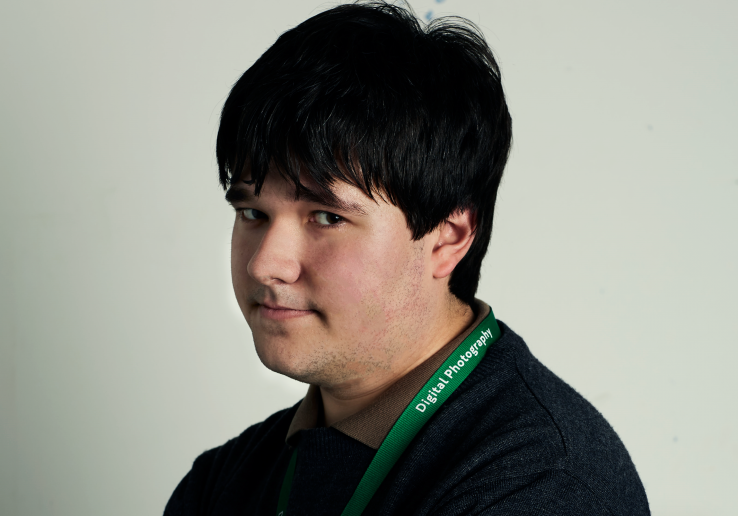
In total there are 18 layers making a 182 megabytes PSD file. This was my first time of manipulating a portrait but I didn’t realise there was so much for just one image.


 My Fanzine has arrived from Mixam Printing. I had to go to the DPD depot to collect it because of the snow. As a result it wasn’t expected to arrive until Monday. However I decided to go and collect so I had time to order a re-print if need be.

 My tutor felt that I should look at my topic from a completely different angle. I’m looking at how camera phones are taking over from DSLR’s. Essentially photography is coming more about technology.
 My Fanzine order from Mixam will arrive tomorrow. I can’t wait to see the finished product

![Something Diffrent: Holding the glasses to the viewer. Looks like he is about to put the sunglasses on to shield the sun [softbox]](https://i0.wp.com/benpetersdigitalphotography.wordpress.com/wp-content/uploads/2018/02/6th-front-cover-21.jpg?w=156&h=250&ssl=1 "6th Front Cover 2")


 Yesterday I ordered my Fanzine. I’ve decided to go with Mixam Printing rather than SBS. I’ve wanted to keep my options open so I’ve decided to order from Mixam, to which if I’m not satisfied, I still have some time to print from SBS.
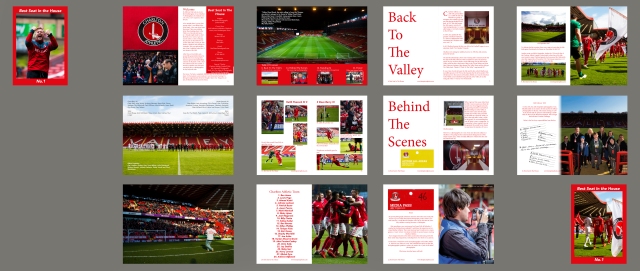
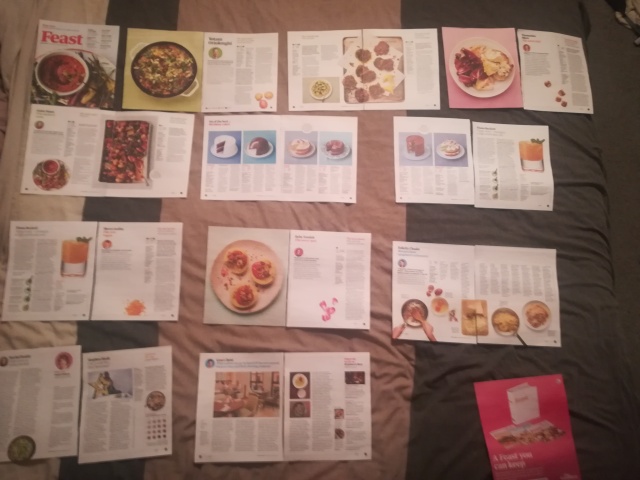
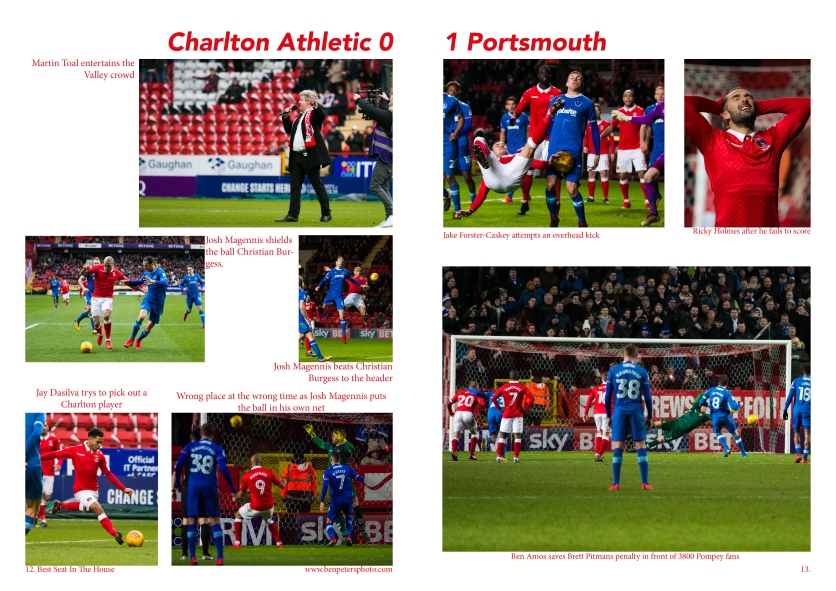 I’ve decided to put my zine through some siginificant change to it’s content. Firstly the Charlton 0-1 Portsmouth article and collage [right] has been replaced with the Charlton Athletic Legends United match [below]. I decided to do this because the images are stronger and there is a lot more to say about the event.
 One article that I have decided to tweak for security reasons is the final article where I was going to include all my passes on the page. I’ve given it some thought and I’m not sure if I’m actually allowed to share images of the passes. If the wrong people see it, they could produce counterfeit media passes. Which is a shame because I was hoping to have my Premier League pass on there to show that I’d photographed in the top division of English football. So as a compromise. I’ve decided to crop the passes so they include the club logo and the type of pass that it is. So that way the viewer will know I have Access All Areas, with out showing the image watermark and the layout of the pass itself.

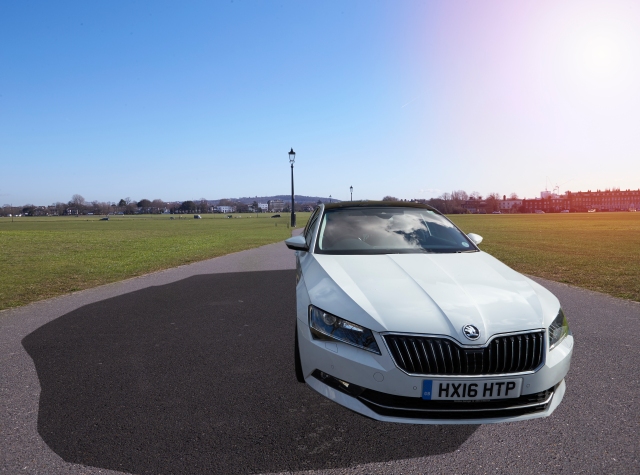
 For my car comp project I have attempted to comp these two images together.
 Next I cut the car out using the Pen Tool in Photoshop. I’d purchased a graphics tablet which I was hoping would make it easier to cut out. However it was tough to use, it’s something that will take a fair bit of practice to get it right. So I played it safe and used my mouse. There were a few areas done with the tablet, but around 90% of the car was cut out using my mouse.
 After this I had to trace the shadow to paint it black. This was relatively easy because didn’t have to be precise like the car. Just as long as I went in the same direction as the shadow it should look plausible.
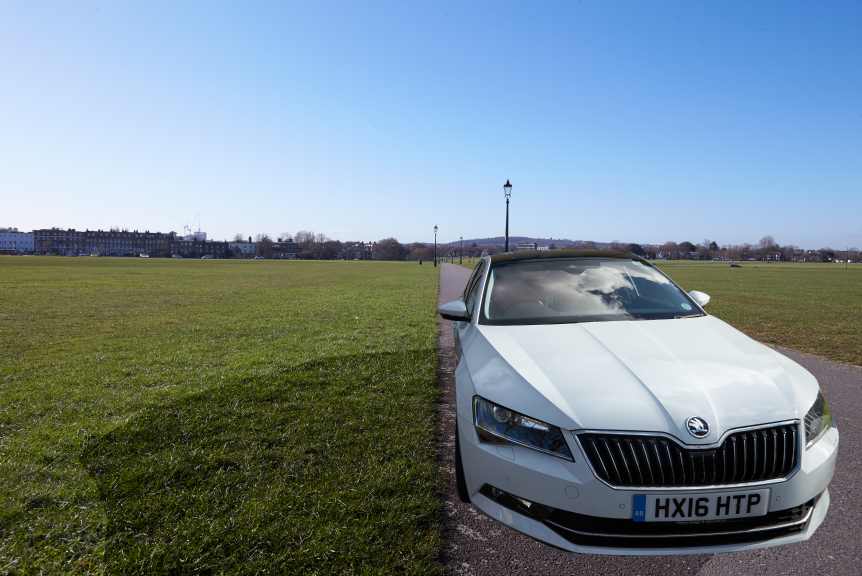 So comped into the landscape I got to this point and I felt I was finished. However Chris felt I could and should go further.